Quest 3: The Room Scene Experience
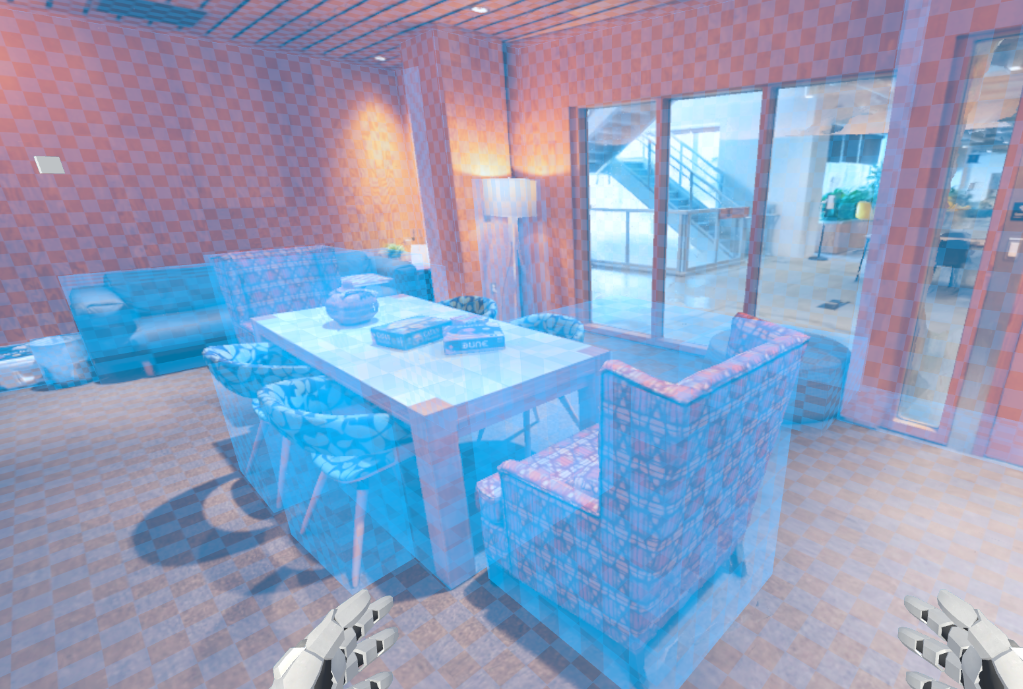
Seeing passthrough as a potential replacement for AR, I was excited to try and use the Quest 3 and its passthrough to create a game. When creating a room, it looked like the Hololens with how it mapped out all the surfaces in the room with triangles. However, despite having the mapping capabilities, the Quest 3 also requires the player to trace all the furniture in a room, creating 6-sided volumes, and then tag them with “Bed, couch, table” or, if none of the above, “other”.
This method of setting up a room was strange to me as it created a situation where the player was responsible for creating an accurate representation of their room. However, marking each and every object is super tedious, and at some points, the Quest would even ask me to re-create the room scene from scratch.
As for making experiences with these volumes, the developer now has to take into account that the user might mark things incorrectly and/or not mark objects at all.
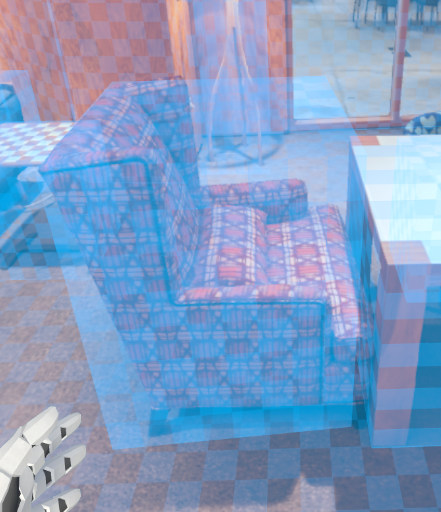
For example:
This chair is being represented by a blue volume as specified by the player. However, the chair itself isn’t actually the shape of the blue volume. If a developer wanted to create an experience that would spawn foliage on anything tagged “Couch”, there is a high chance that the foliage would just float over the chair instead of being placed on the chair.
Starting the Quest 3 development, I used the Building Blocks tool provided by the Oculus Package.
Room Scene in Quest 3
Getting Started With Scene Mesh
I didn’t realize that the scene mesh made out of triangles was obtainable and usable until a while later. However, using both the volumes and the scene mesh at the same time doesn’t seem to have any benefits.
The portion under “Create prefabs for plane, volume, scene mesh” is where you want to look if you are trying to access the scene mesh.

